
Email cannot be empty
Password cannot be empty
checkout as a guest
or
Facebook
Google
Email format error
Email cannot be empty
Email already exists
6-20 characters(letters plus numbers only)
The password is inconsistent
Please enter the email address you’d like your password reset information sent to.
Email format error
Email cannot be empty
Email does not exist
Reset account password
For the account
6-20 characters(letters plus numbers only)
The password is inconsistent
Reset success
Your password was reset. You can log in using your new password.
Login


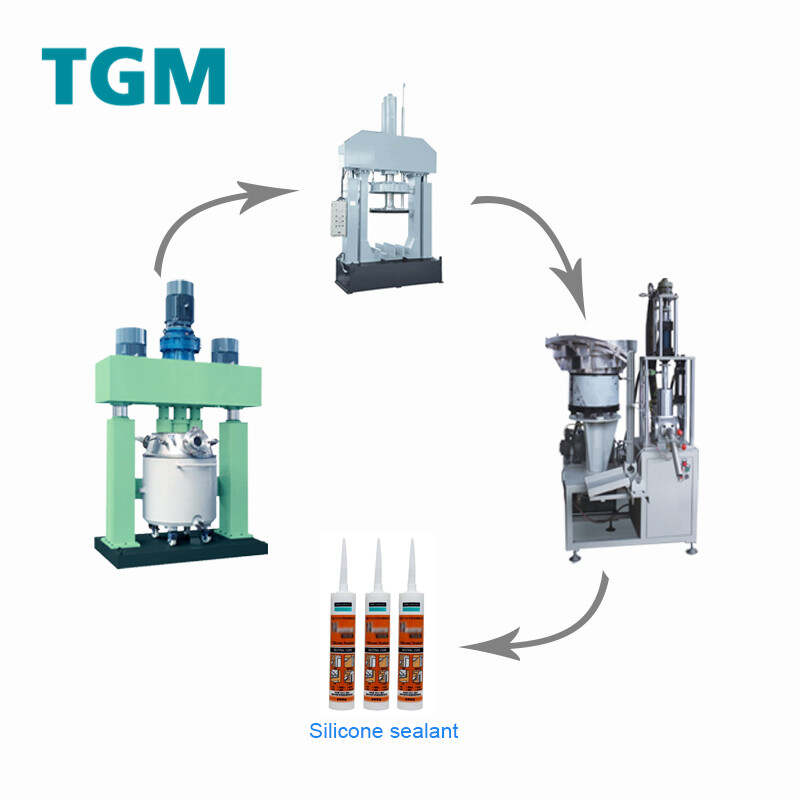
The Unsung Hero of Home Improvement & Industrial Projects: Silicone Sealant
2025-09-18 09:23:25
If you’ve ever tackled a home repair, renovated a bathroom, or even peeked behind the scenes of construction sites, you’ve probably encountered a humble yet powerful product: silicone sealant. Often overlooked next to flashy tools or premium building materials, this flexible, adhesive substance is the unsung hero that keeps our spaces watertight, airtight, and durable. Let’s dive into what makes silicone sealant a must-have, its key uses, how to choose the right one, and pro tips for application.
What Exactly Is Silicone Sealant?
Silicone sealant is a synthetic, rubber-like material made from silicone polymers—chemically stable compounds that resist extreme temperatures, moisture, and UV rays. Unlike traditional caulk (which is often water-based and prone to cracking over time), silicone sealant cures (dries) into a flexible, elastic bond that moves with the materials it’s sealing. This flexibility is a game-changer: it prevents cracks when surfaces expand or contract (think windows shifting in winter or summer) and ensures long-lasting protection against leaks.
Most silicone sealants come in tubes or cartridges, designed to be used with a caulking gun for precise application. They’re available in a range of colors (clear, white, black, and even custom shades) to blend seamlessly with different surfaces, from glass and metal to tile and wood.
Why Silicone Sealant Stands Out: Key Benefits
What makes silicone sealant superior to other sealing options? Let’s break down its top advantages:
- Exceptional Water Resistance: It’s 100% waterproof once cured, making it ideal for wet areas like bathrooms, kitchens, and outdoor projects (e.g., sealing around a pool or gutter). Unlike acrylic caulk, it won’t break down or peel when exposed to constant moisture.
- Temperature Tolerance: Silicone can handle extreme heat (up to 500°F/260°C for high-temperature formulas) and cold (down to -60°F/-51°C), so it’s perfect for sealing around stovetops, fireplaces, or outdoor fixtures in harsh climates.
- UV & Weather Resistance: Outdoor silicone sealants are formulated to resist sun damage, fading, and degradation from rain, snow, or wind. This means they won’t become brittle or lose their seal over time—even in direct sunlight.
- Flexibility & Durability: Unlike rigid adhesives, silicone stays elastic for years, accommodating movement in buildings (e.g., settling walls) or everyday use (e.g., around a sink that gets bumped).
- Versatile Bonding: It adheres to most non-porous surfaces (glass, metal, plastic, ceramic) and many porous ones (wood, concrete) without requiring priming. This makes it a one-stop solution for countless projects.
Common Uses: Where Silicone Sealant Shines
Silicone sealant’s versatility means it’s useful in both residential and commercial settings. Here are some of its most popular applications:
- Home Improvement:
- Sealing gaps around windows and doors to prevent drafts and water leaks (hello, lower energy bills!).
- Caulking around bathtubs, showers, and sinks to stop water from seeping into walls (a must for preventing mold and water damage).
- Securing backsplashes in kitchens or bathrooms to keep food and water out of gaps.
- Repairing small cracks in outdoor furniture, planters, or garden hoses.
- Industrial & Construction:
- Sealing joints in HVAC systems to maintain airflow and energy efficiency.
- Bonding glass panels in skyscrapers or greenhouses (thanks to its clarity and strength).
- Protecting electrical components from moisture (electrical-grade silicone is non-conductive).
- Sealing concrete joints in driveways or sidewalks to prevent cracking from freeze-thaw cycles.
- Automotive & Marine:
- Sealing windshields and headlights to keep water out of the car’s interior.
- Protecting boat hulls, hatches, and fittings from saltwater damage (marine-grade silicone is specially formulated for this).
How to Choose the Right Silicone Sealant
Not all silicone sealants are created equal! To get the best results, consider these factors before buying:
- Type of Project:
- For wet areas (showers, sinks), choose a bathroom/kitchen silicone (often labeled “mold-resistant” to fight mildew growth).
- For outdoor use, opt for exterior silicone with UV resistance to withstand the elements.
- For high-heat areas (stovetops, fireplaces), pick high-temperature silicone (rated for 500°F+).
- Color: Clear silicone is great for glass or areas where you want an invisible seal. White or black works well for matching trim, tiles, or fixtures.
- Cure Time: Most silicone sealants take 24 hours to fully cure, but some “fast-cure” options dry in 6–12 hours—perfect for projects where you need quick results.
- Adhesion: Check the label to ensure the sealant works with your surface (e.g., “adheres to ceramic, glass, and metal”). If you’re using it on a tricky surface (like polypropylene plastic), look for a “multi-surface” formula or use a primer first.
Pro Tips for Perfect Application
Even the best silicone sealant won’t work well if applied incorrectly. Follow these steps for a smooth, long-lasting seal:
- Prepare the Surface: Clean the area thoroughly to remove dirt, grease, or old caulk. Use a caulk remover tool or putty knife to scrape away old sealant, then wipe with rubbing alcohol to ensure the surface is dry and clean.
- Mask the Area (Optional but Recommended): Apply painter’s tape along the edges of the gap to create a straight line. This makes cleanup easier and gives your seal a professional look.
- Cut the Nozzle: Use a utility knife to cut the tip of the silicone tube at a 45-degree angle. The size of the opening should match the gap you’re sealing (smaller gaps = smaller opening).
- Apply the Sealant: Hold the caulking gun at a 45-degree angle to the gap, and squeeze the trigger steadily as you move the gun along the gap. Keep the pressure consistent to avoid lumps or gaps in the seal.
- Smooth the Seal: Wet your finger (or use a caulk smoothing tool) and gently run it along the sealant to press it into the gap and create a smooth finish. Wipe away excess sealant with a damp cloth before it dries.
- Let It Cure: Avoid touching or getting the sealant wet until it’s fully cured (follow the label’s instructions). For best results, keep the area well-ventilated during curing.
Final Thoughts
Silicone sealant may not be the most glamorous product in your toolbox, but it’s one of the most essential. Whether you’re fixing a leaky faucet, weatherproofing your home, or working on a big construction project, its durability, flexibility, and versatility make it irreplaceable. By choosing the right formula and following proper application steps, you’ll ensure your seals last for years—saving you time, money, and headaches down the line.
Prev Post
Next Post
Contact us
Contact us
Please give your inquiry in the form below. We will reply you in 24 hours.