
Email cannot be empty
Password cannot be empty
Email format error
Email cannot be empty
Email already exists
6-20 characters(letters plus numbers only)
The password is inconsistent
Email format error
Email cannot be empty
Email does not exist
6-20 characters(letters plus numbers only)
The password is inconsistent

Behind the Scenes: The Fascinating World of a UV Resin Production Line
UV resin has exploded in popularity, finding its way into everything from artisan jewelry and 3D printing to industrial coatings and electronics. But have you ever wondered how this versatile, light-curing material is actually made?
The journey from raw chemicals to the bottle of crystal-clear resin on your desk is a marvel of modern chemical engineering. Today, we're pulling back the curtain to explore the sophisticated, automated world of a UV resin production line.
What is UV Resin, Anyway?
First, a quick primer. UV resin is an oligomer-based liquid that remains stable until it's exposed to a specific wavelength of ultraviolet light. This exposure triggers a photochemical reaction called "curing," instantly hardening the liquid into a solid, durable plastic.
Key components in a typical UV resin formula include:
-
Oligomers: The backbone, determining the final properties (flexibility, hardness, chemical resistance).
-
Monomers: Reactive diluents that adjust viscosity and enhance performance.
-
Photoinitiators: The "magic" ingredient that absorbs UV light and starts the curing reaction.
-
Additives: Pigments, stabilizers, and other agents for specific effects and shelf life.
The UV Resin Production Line: A Step-by-Step Journey
Creating a consistent, high-quality UV resin requires precision, cleanliness, and control at every stage. Here’s how a typical production line flows:
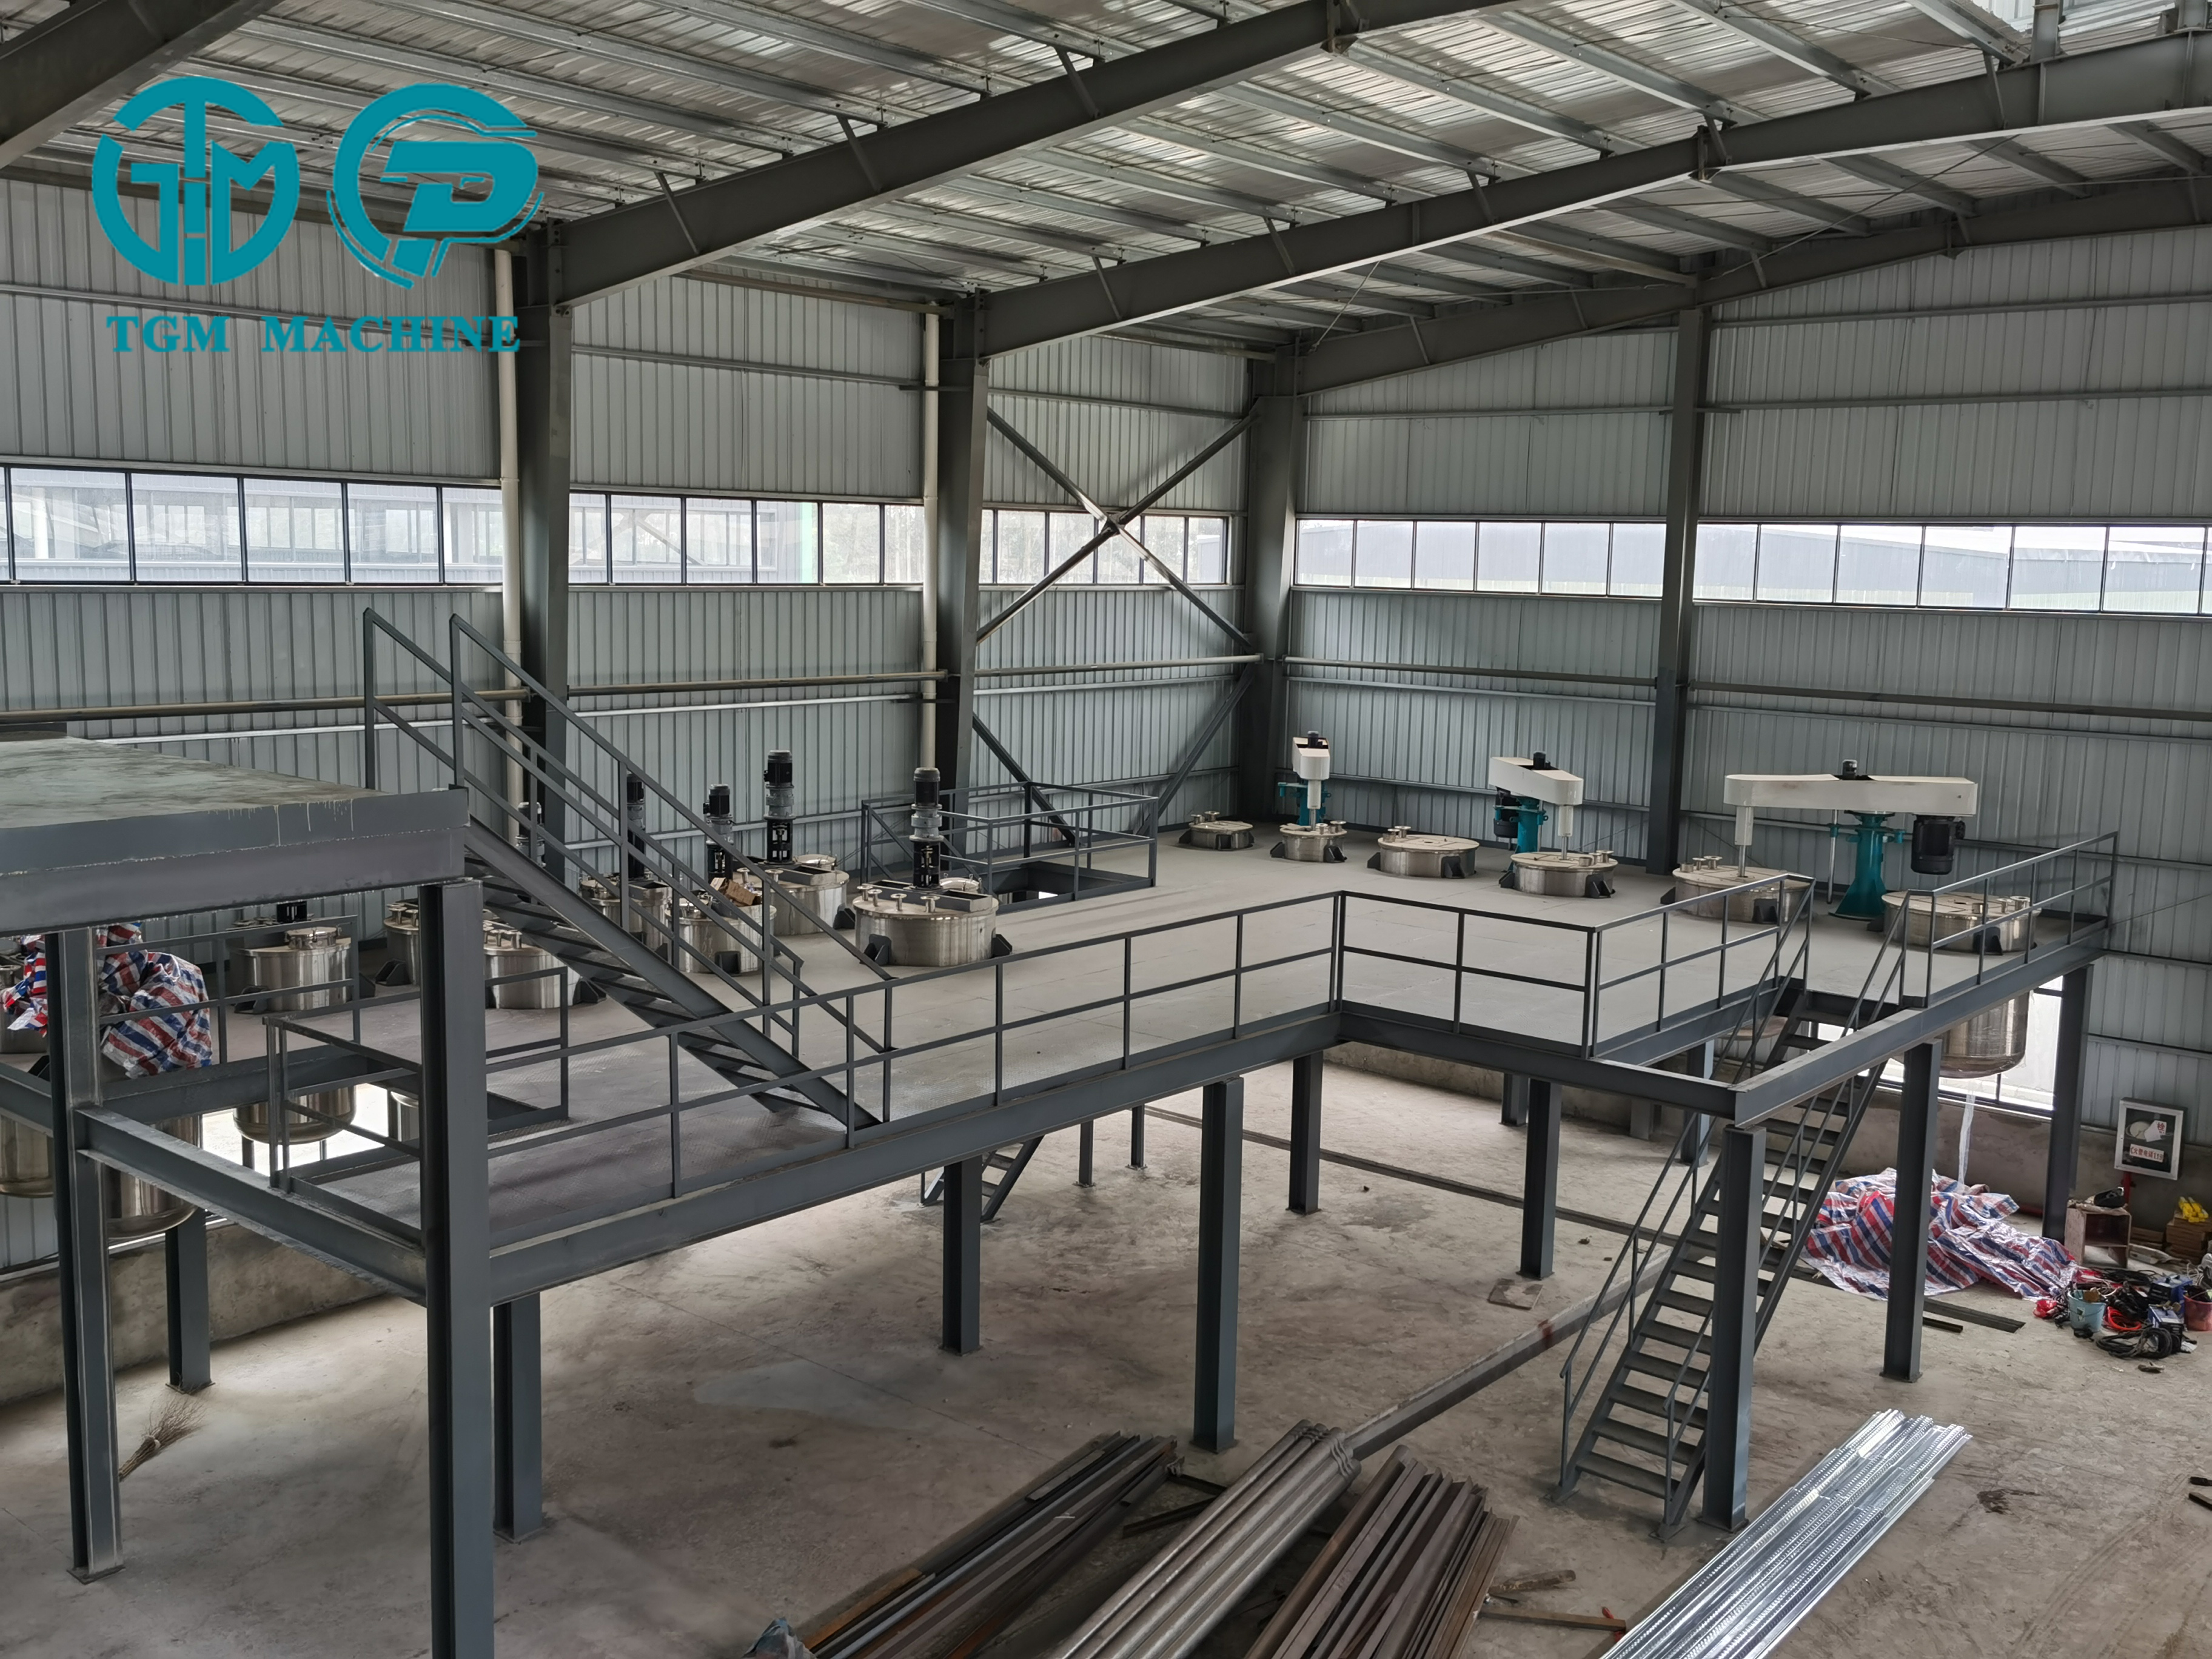
Stage 1: Raw Material Handling & Pre-Mixing
The process begins in a controlled environment, often a dedicated pre-mixing room.
-
Weighing & Batching: Operators precisely weigh each raw material according to a specific formula (the "recipe"). Accuracy here is critical—even small deviations can alter the resin's curing speed, clarity, or final strength.
-
Initial Dispersion: The main oligomer is added to a large mixing tank. Then, solid components like certain photoinitiators or color pastes are added. This stage often uses a high-speed disperser to break down agglomerates and create a preliminary, homogenous mixture.
Stage 2: The Heart of the Process: Main Mixing & Deaeration
This is where the resin truly comes together.
-
Vacuum Mixing: The pre-mix is transferred to the main reactor—a powerful dual-shaft planetary mixer or high-shear mixer under a vacuum. The vacuum serves two crucial purposes:
-
It removes air bubbles introduced during mixing, ensuring a crystal-clear, bubble-free final product.
-
It prevents oxygen from inhibiting the chemical reaction during mixing, which can affect shelf life.
-
-
Controlled Temperature: Mixing generates heat. The reactor is jacketed to allow for precise temperature control using a chiller or heater, ensuring the mixture stays within a safe and optimal range.
-
Addition of Sensitive Components: Heat-sensitive ingredients, like some photoinitiators, are often added later in the cycle once the base mixture has cooled to a safe temperature.
Stage 3: Filtration & Quality Control (QC)
Before packaging, the resin must be pristine.
-
Filtration: The mixed resin is pumped through a series of filter bags or cartridges (e.g., 5 to 25 microns) to remove any microscopic impurities or undispersed particles. This is essential for resins used in applications like optical coatings or deep-pour art where clarity is paramount.
-
Lab Testing: A sample from the batch is sent to the in-house QC lab. Technicians test for key parameters:
-
Viscosity: Using a viscometer.
-
Curing Speed & Hardness: Using a UV lamp and a durometer.
-
Color & Clarity: Using spectrophotometers.
-
Density and Refractive Index.
Only after the batch passes all QC checks does it move to packaging.
-
Stage 4: Packaging & Labeling
The final stage is as important as the first.
-
Automated Filling: The finished resin is pumped into filling machines that accurately dispense it into bottles, jugs, or industrial containers. These fillers are often designed to minimize drips and waste.
-
Capping & Sealing: Automatic cappers secure the lids, often with inner seals to prevent leakage and contamination.
-
Labeling: Labels are applied, containing all necessary safety information, technical data, batch numbers, and expiration dates.
-
Packaging: The bottles are packed into cartons, ready for shipping.
Key Machinery in a UV Resin Production Line
-
Mixing Vessels: Planetary mixers, high-shear dispersers.
-
Vacuum System: Pumps and sealed lids for deaeration.
-
Temperature Control Unit (TCU): Chillers and heaters for reactor jackets.
-
Filtration System: Pump, filter housing, and disposable filter bags/cartridges.
-
Filling Machine: Semi-automatic or fully automatic piston or gravity fillers.
-
Capping Machine: For applying screw caps or other closures.
-
Transfer Pumps & Piping: To move the resin between stages.
Challenges & Critical Considerations
-
Contamination is the Enemy: Even a tiny speck of dust or a different chemical can ruin an entire batch. Cleanliness is non-negotiable.
-
Light Sensitivity: The entire production area must use yellow "golden" LED lighting or cover windows with UV-blocking film to prevent the resin from prematurely curing during manufacturing.
-
Consistency: The goal is to produce batch after batch of identical resin. This requires rigorous process control and standardized operating procedures (SOPs).
Conclusion
What might seem like a simple liquid is the product of a complex, carefully orchestrated industrial process. The modern UV resin production line is a testament to the intersection of chemistry, engineering, and quality assurance. It ensures that whether you're a crafter creating a beautiful pendant or an engineer prototyping a new part, the resin you use is reliable, consistent, and ready to perform under the light.